English


ABOUT ORGANIC-LOCK
DESIGN, INSTALLATION & MAINTENANCE
ADDITIONAL RESOURCES
PRODUCT SPECIFICATIONS
PROJECTS
WHERE TO PURCHASE
CONTACT US
DEALER LOGIN
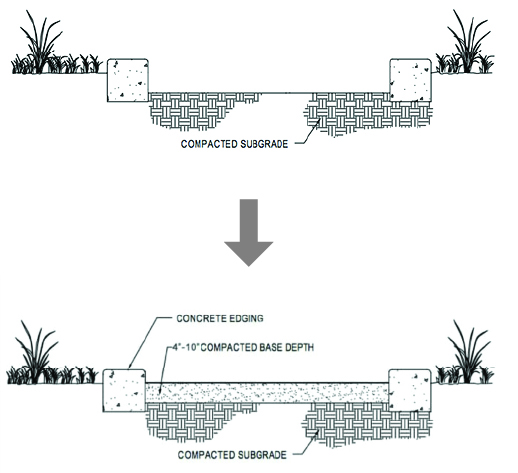
Excavate and prepare the subgrade to the depth required in your specifications (taking into consideration both the depth of compacted base and depth of compacted OLSA).
It is important to start with a well-compacted subgrade before the base material is introduced. Compact the subgrade to 95% Modified Proctor Density using a single or double drum roller or vibratory compactor. Once the subgrade has been efficiently compacted, you can introduce the base material to the depth required for your installation.
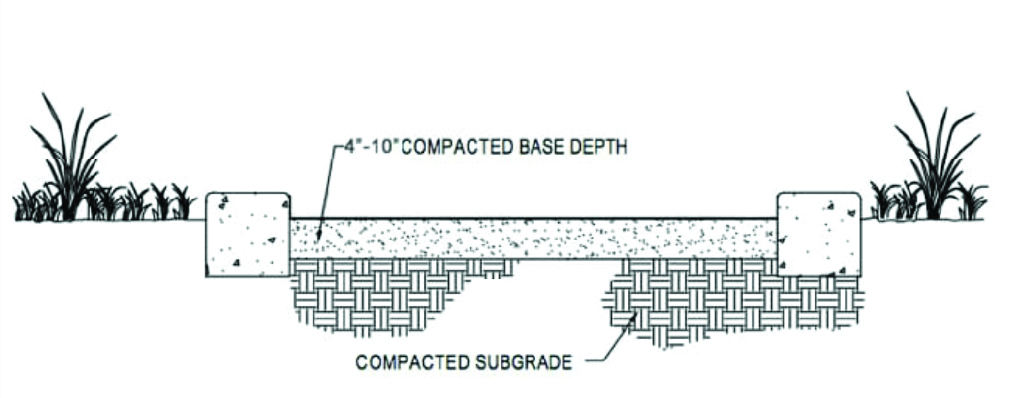
Base Material: It is recommended to use your region’s DOT-recommended road base material, compacted at the depth determined in your specifications (related to expected traffic type).

Before spreading the Organic-Lock Stabilized Aggregate (OLSA), it is very important to make sure that the proper moisture level of the material has been achieved. The best way to do this is by performing a snowball test.
LEARN MORE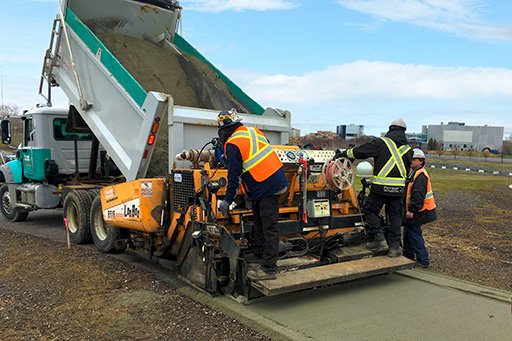
With properly hydrated OLSA, you can begin the installation process.
Using an Asphalt/Paver installer is the most efficient and effective means of spreading the hydrated Organic-Lock Stabilized Aggregate (OLSA) as it provides a consistent depth of placement. Continually feeding the spreader can result in a seamless installation period that is both technically accurate and cost-effective.
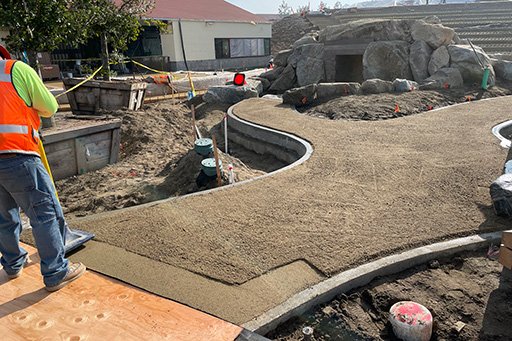
Spread and compact the OLSA material in 3-4 inch lifts.
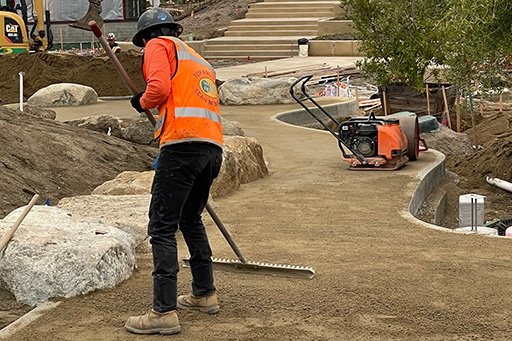
Hand raking can be used in areas where an Asphalt/Paver installer is not possible. In these situations, it’s important to keep a strong focus on depth consistency across the installation.

Be sure to compensate for the expected depth of compaction when finalizing the end depth. Always be sure to spread enough OLSA so that the compacted material finishes at the height of the edge or above.
NOTE: Never compact less than a 3 inch lift. If the spread/installed area is too low, always top up the entire area BEFORE compaction - do not add a small lift after compaction for compensation.
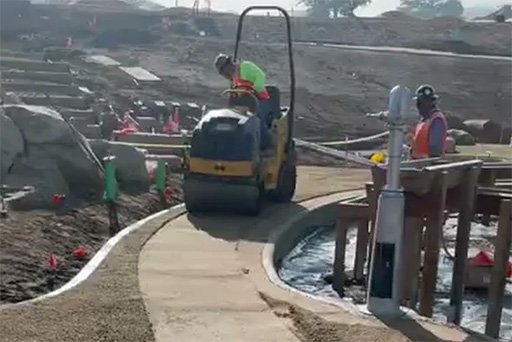
Compact OLSA with a minimum 1 ton static roller. Make 5-6 passes or continue until visible lines are eliminated.
Be sure to hand compact edges or hard to reach areas prior to compaction. The edges of any pathway will often be prone to the most stress as these are often rainfall collection zones. This is a very strong reason why we recommend non-moveable edges, along with a strong compaction right up to the edge.
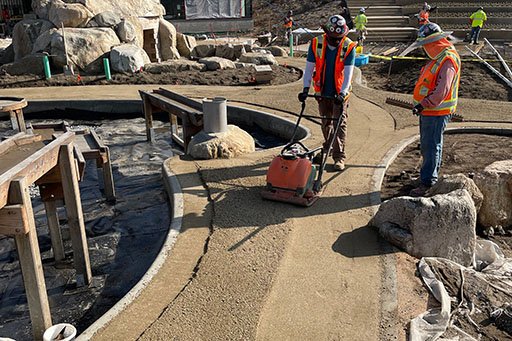
In areas where a one-ton roller is not possible or available, it’s possible to use a vibratory plate compactor. If using a vibratory plate compactor, be sure to add a slight mist of water to ensure dry material is not separated at the surface.
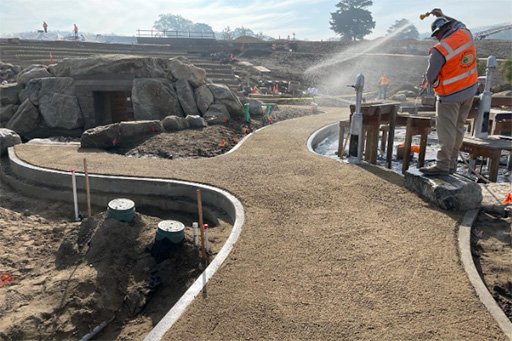
After compaction is complete, it is recommended to provide a final top-down soaking with a water spray to ensure that the Organic-lock is activated on the surface and all the way throughout its profile, as some areas may be prone to drying throughout the installation process.
ALLOW TO CURE FOR 72 HOURS